
I was compensated by Joann Fabrics & Crafts for this post.
On Sunday afternoon, my daughter and grandsons came over for a crafting party. I had been shopping at Jo-Ann Fabrics, and had all the supplies ready to make personalized Trick or Treat bags for the boys when they arrived.

I had one canvas tote bag that I got from Jo-Ann Fabrice and Crafts, and a cute burlap bag that came from somewhere else. The burlap one had a company logo on it, but I decided to use it because the logo would be covered up when the bag was finished.

Because Parker is only 9 months old, I made his and Spencer, who is 11, made his own. We decided to use fabric scraps, fabric glue, fabric paint markers, and bead paint to decorate our bags. The tools we had were a pair of scissors, some pins, a paint brush for spreading the glue, and some 3″ plastic letter stencils for making initials.

If you are making this craft with younger children, you will want to cut out the letter in advance, or let them pick out the fabric and trace the the letters with the stencils themselves, and then have an adult cut them out.

Choose a fabric scrap that is big enough to fit on one side of the tote bag. Cut out the shape you want, and set that piece aside. Choose a contrasting fabric scrap, and cut out a smaller shape to fit inside the first one you cut out. Glue the second one to the first one with fabric glue. You can use any kind of fabric glue that you may have on hand. We used Aleene’s Fabric Fusion.

Trace around the stencil letter with a fabric paint marker or pen. Cut out the letter. We used two P’s, for “P”umpkin “P”arker, but you can come up with your own ideas as well. We talked about just using Spooky,or Booooo!! but decided to put Parker’s name on the bag.
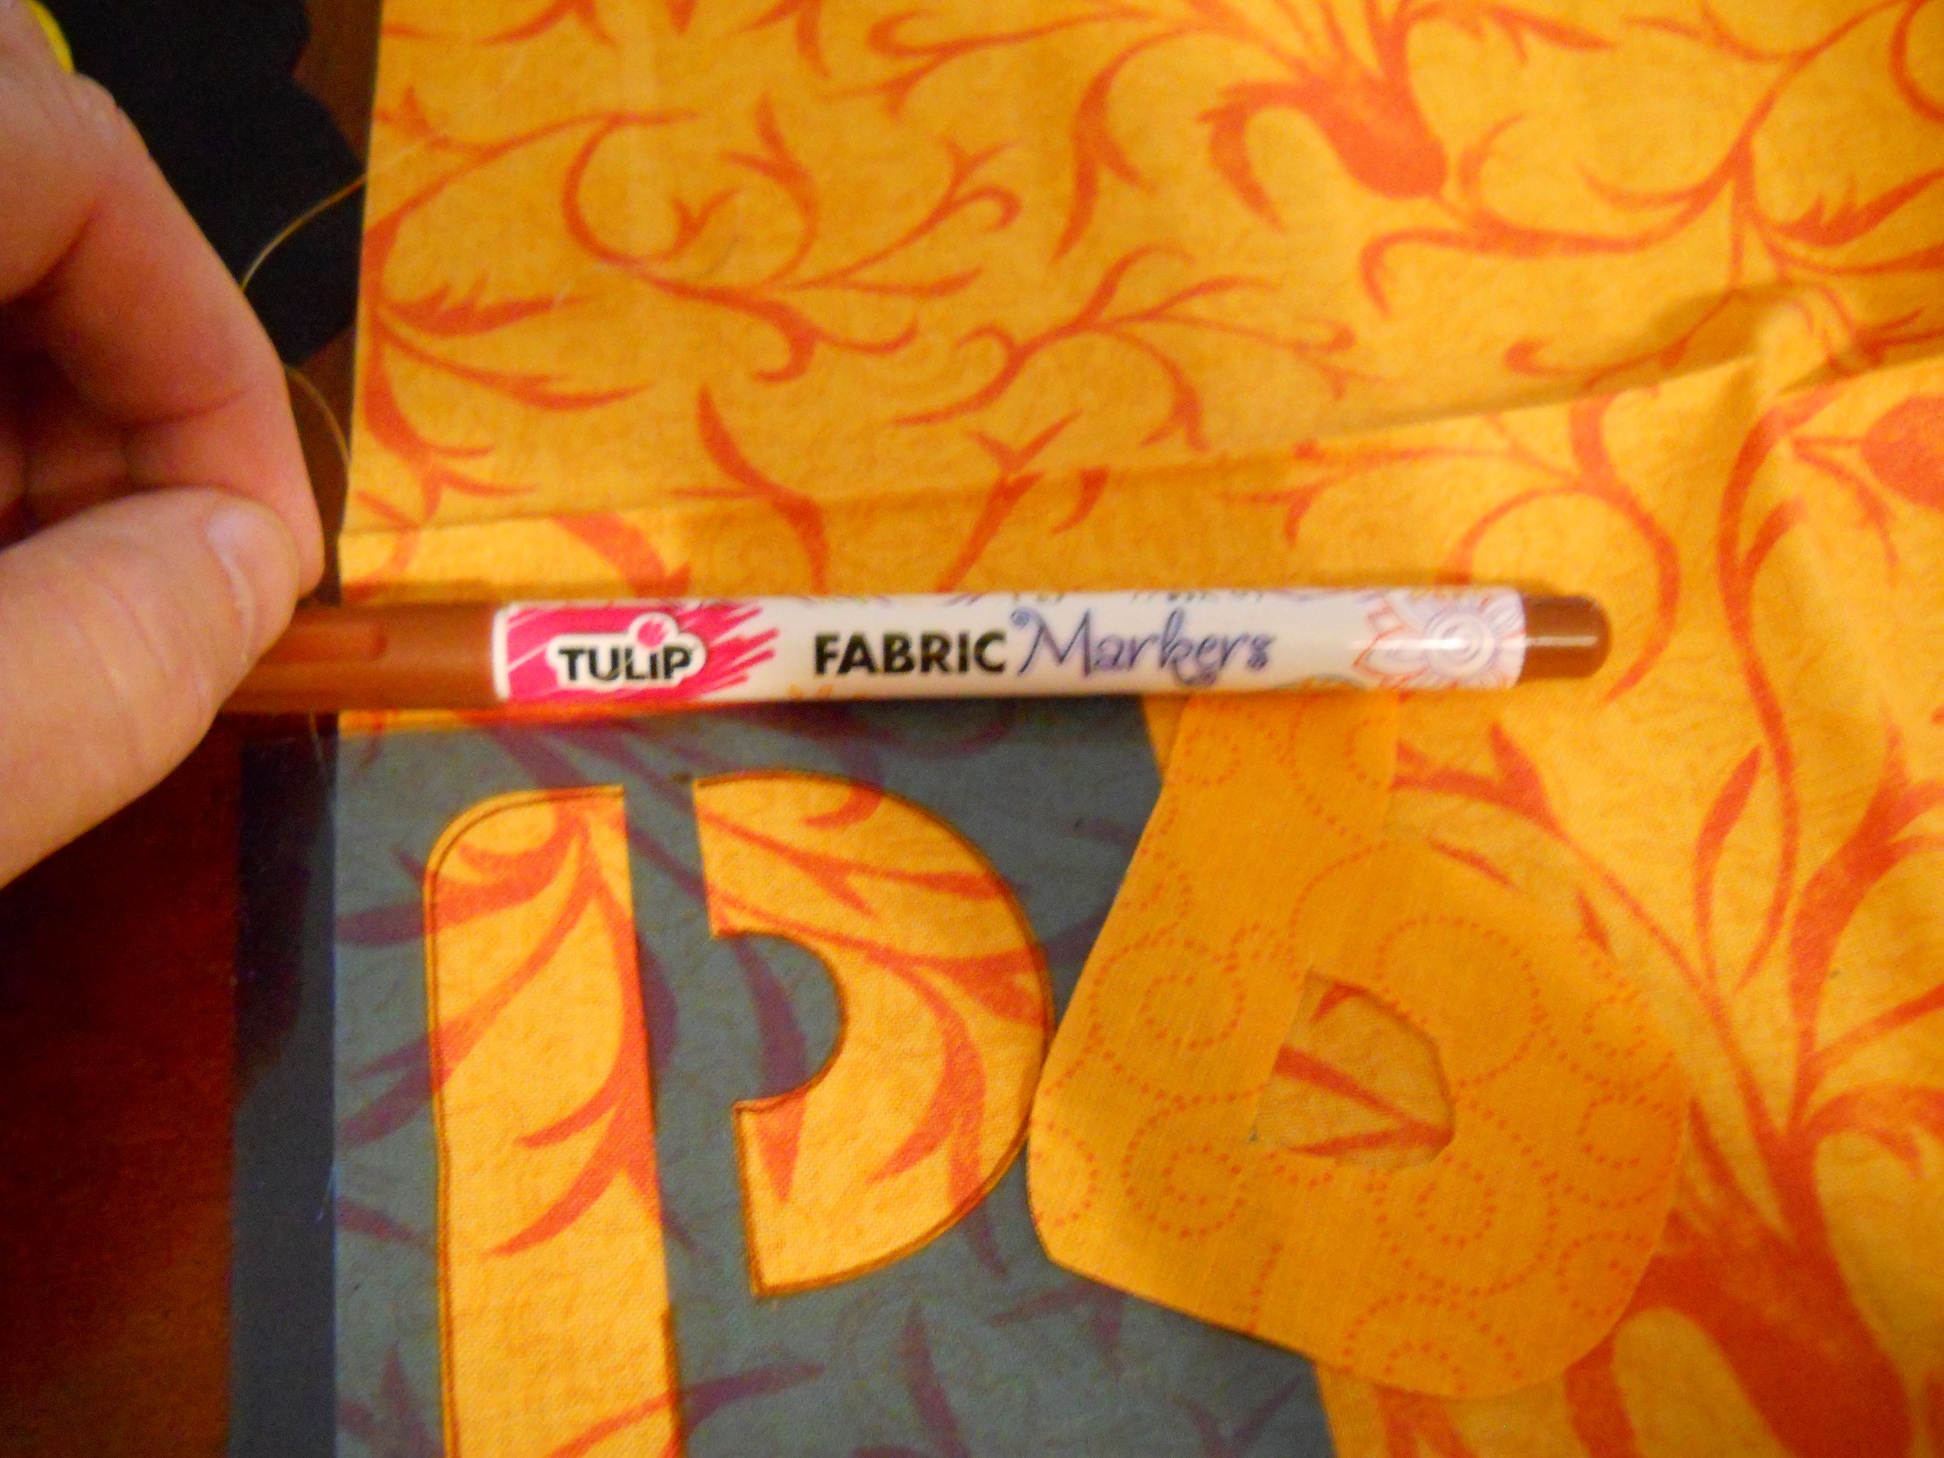
Glue the letters to your design, then use the Tulip Fabric Marker to write the rest of the words in spooky letters.
After the letters are glued on and the rest of the name is written in, glue the whole design to the front of the tote bag with the fabric glue. Use enough glue to make sure the design will stick, and press it down well with your fingers. After the design was glued on, I used Tulip Beads In A Bottle to finish it up.

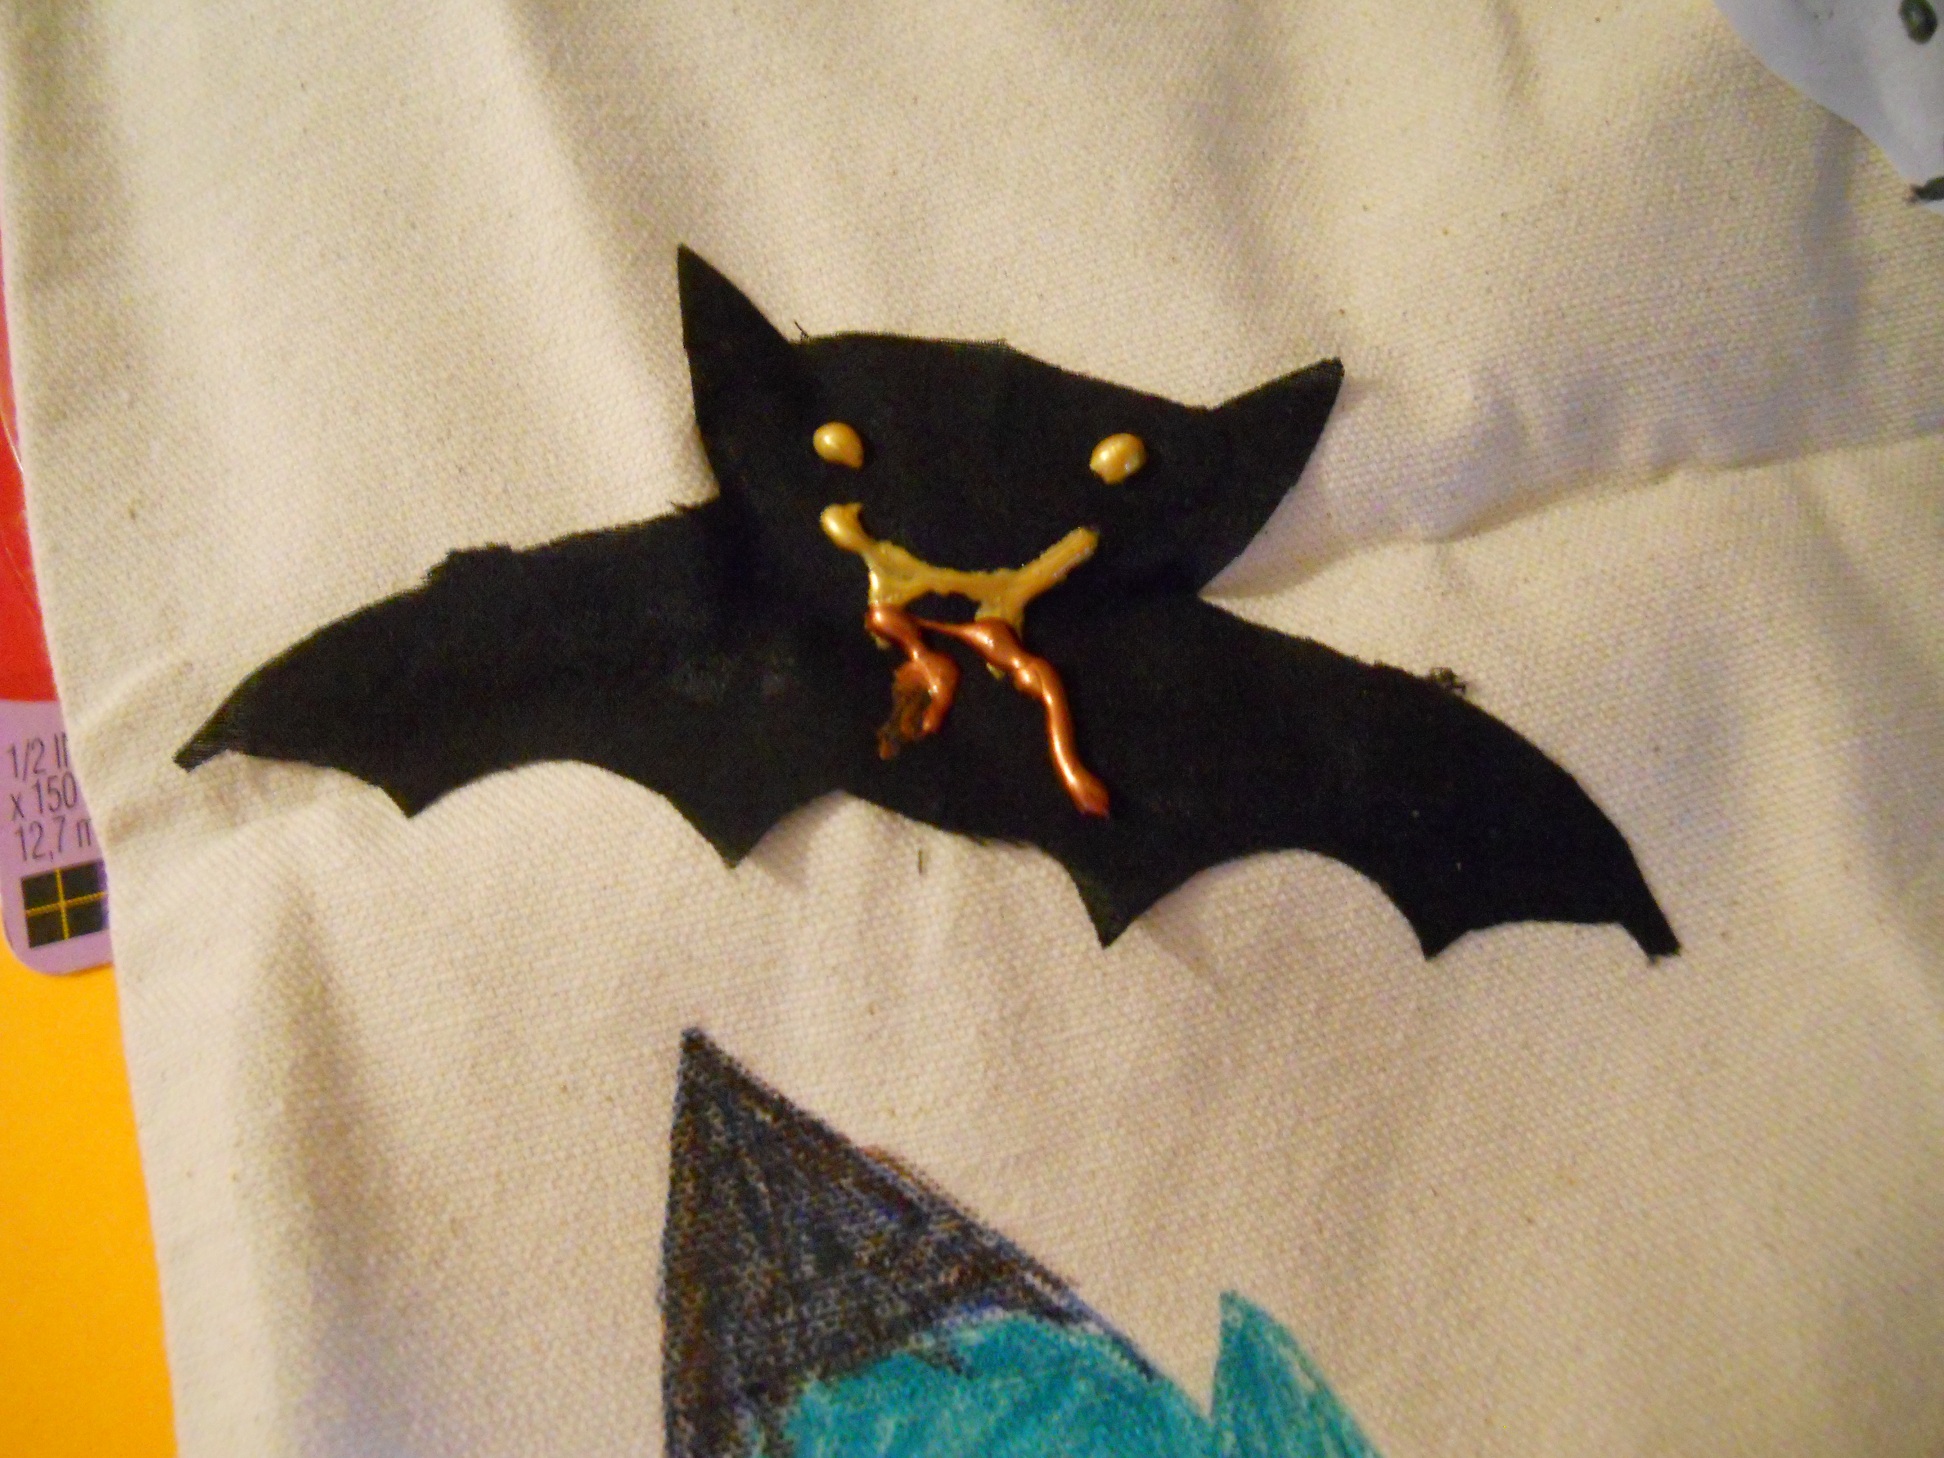
Meanwhile, on the other side of the table, Spencer decided he did not want his name on his bag. He had other ideas about what would be spooky! He choose a large black fabric scrap, and cut out a bat freehand! I was really impressed with the way his bat turned out. It really did look spooky on his Trick or Treat bag. After he cut it out, he used the Aleene’s Fabric Fusion Glue to glue it to the front of his tote bag. Next, he used some Tulip Beads In A Bottle in Gold and Copper to make eyes, a mouth and some “blood drops” on his bat.
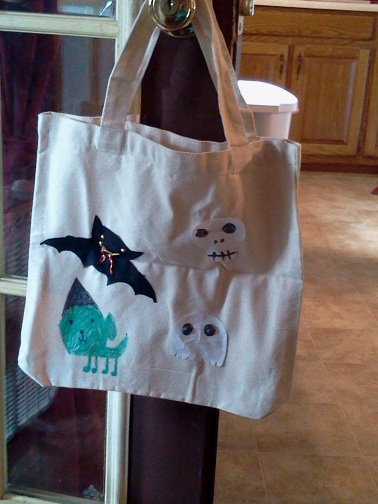
Next, he made a skull and ghost out of white paper, and used the tulip paints to add features to them before gluing them on.

The last thing he added was a hand drawn “goblin dog” using the Fabric Markers. With that, his trick or treat bag was complete.
How would you decorate your trick or treat bag? You can find lots of crafting ideas at Creativity Made Simple. You can save 50% off one item at Jo-Ann Fabric and Crafts to help you get started!


Love these! Looks like lots of fun!
We had a lot of fun. Spencer said he can’t wait to do it again but don’t forget the cookies you promised because I know he won’t!!
It looks you guys had a blast. Thanks for the coupon. It’s that time of year when we visit Joann’s a lot.
That is such a cute bag! Fab job Fabgrandma 🙂 Thanks for the coupon too, I need to get some Washi Tape for a project I’m doing for Christmas so this will be handy!
I love the bags. I can’t believe he free-handed that bat. What a great job.